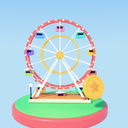


Build mode
Tap the Build tab. The roll button slides away, the camera pulls back over your park, and a price tag hangs on each ride:
- A yellow tag with a coin shows the price of the ride's next level, and you can afford it.
- A grey tag means you need more coins for that one.
- A tag with a hammer means the ride was pranked and needs a repair (see Repairs).
- A green Max tag with a star means the ride is at level 5.
Small pips on each tag show the ride's level. Tap a tag to build: the coins fly to the ride, the hammers go to work, and the new level springs up with a "Level 3" stamp (or "MAX!" at level 5) while stars fly to the park's progress bar. Build as many levels as you like, in any order.
The card at the bottom says "Build Sunny Pier". Tap Done, or the Build tab again, to go back to rolling. The Build tab's red badge counts how many rides you can afford a level of right now.
The rides and their levels
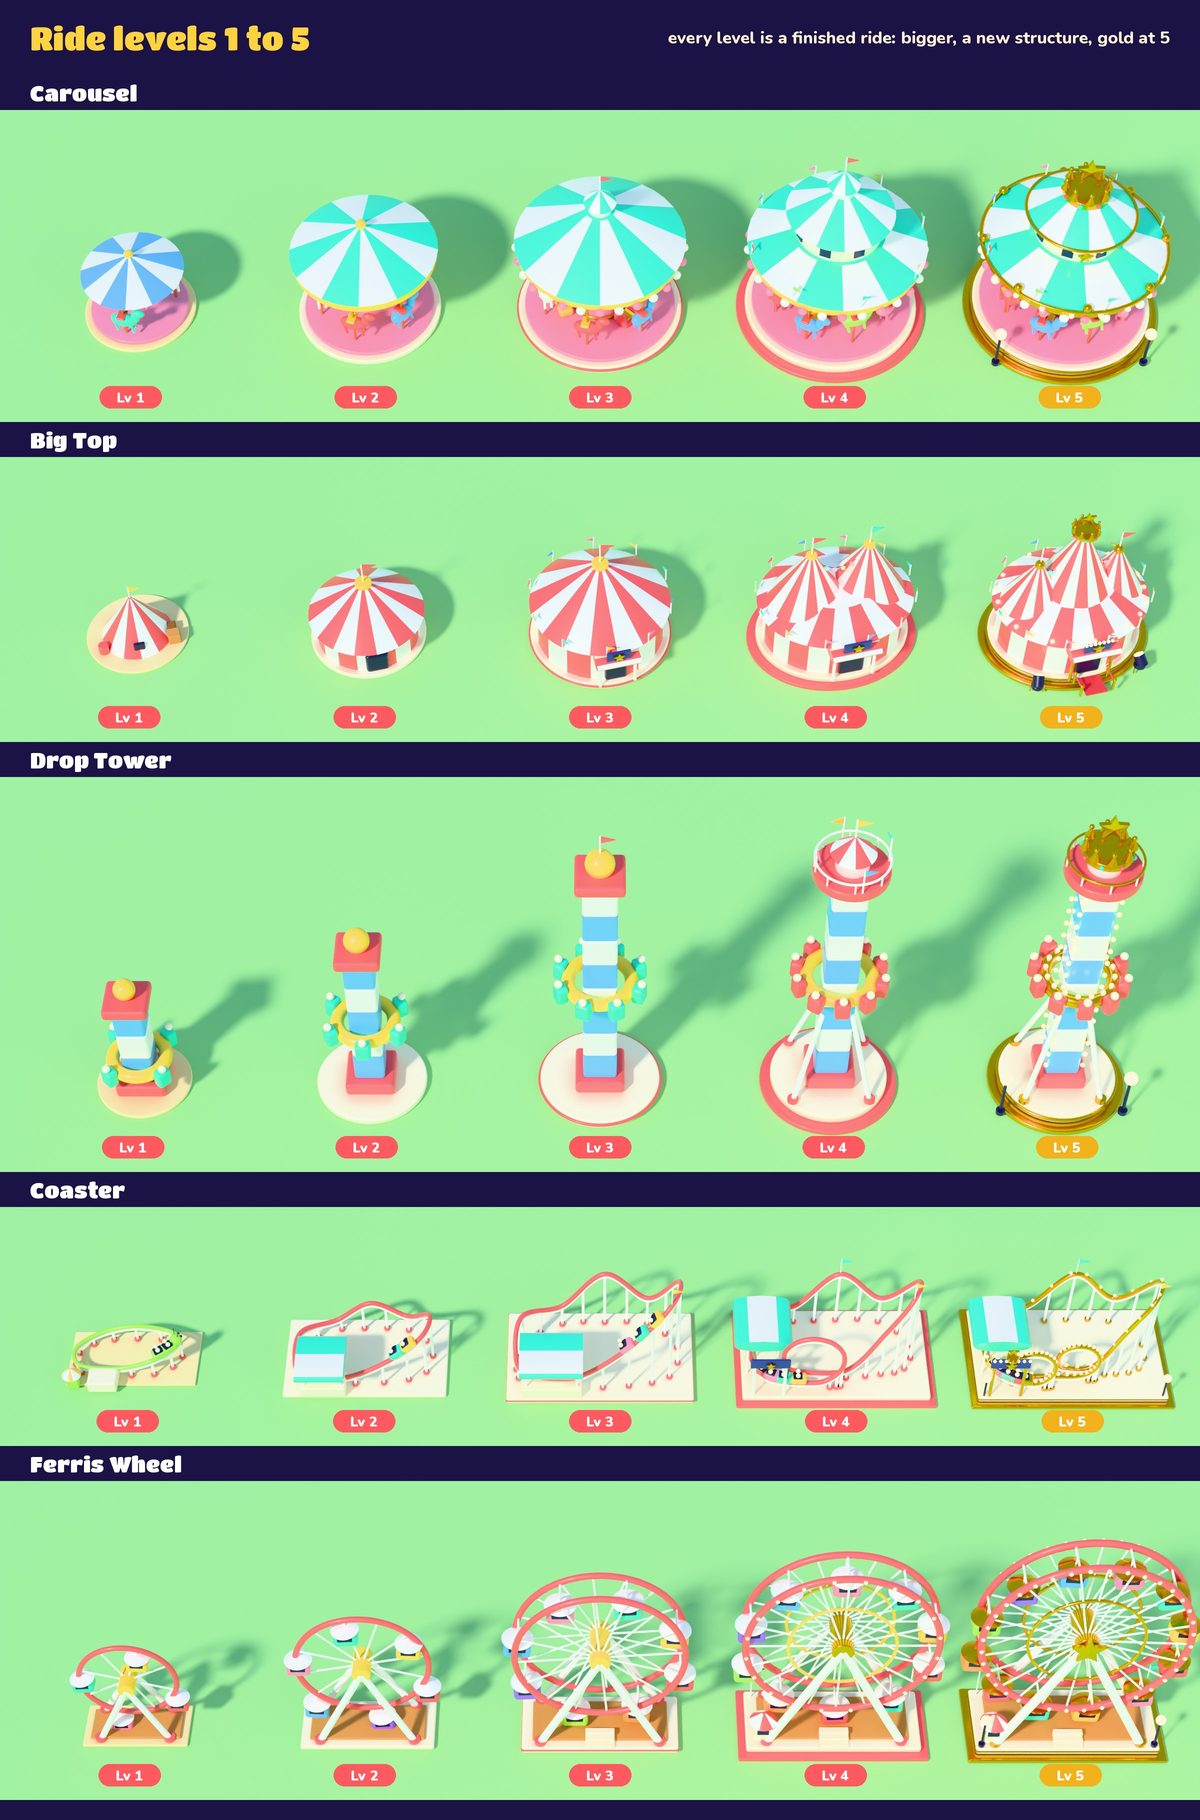
Every park has five rides, and every ride has five levels. Each level is a whole working ride that grows bigger and gains something new, and level 5 goes gold. At Sunny Pier:
| Ride | Level 1 | Level 2 | Level 3 | Level 4 | Level 5 |
|---|---|---|---|---|---|
| Carousel | A small pony ring | A merry-go-round in full colour | A grand carousel with a mirrored drum and a cupola | A double-decker with flags | A golden crown on top |
| Big Top | A pup tent | A circus tent | A big top with a marquee | Twin peaks | Triple peaks, searchlights and a red carpet |
| Drop Tower | A kiddie tower | Taller, with more seats | Full height | Outrigger legs and an observation deck | A gold crown |
| Coaster | A kiddie caterpillar | A family coaster | A full coaster | A loop, a side station and an entrance arch | A gold double loop |
| Ferris Wheel | 4 cabins | 6 cabins | 8 cabins | 10 cabins | 12 cabins, lights and gold |
The rides are animated: the carousel turns with its horses rising and falling, the wheel turns, the tower's seats climb and drop, and the coaster train runs its track. Other parks have rides of their own: see The parks.
Park preview
For a closer look at your rides, open Build and tap Preview, just above the card with the Done button. The camera glides in on each ride in turn, and the card at the bottom shows its name, its level and what the next level costs. Tap the arrows (or swipe across the screen) to move from ride to ride, and the X to go back to building.
Prices
- Every level of a ride costs more than the one before, and the gold level 5 costs the most.
- Level for level, the five rides cost a little more in turn: at Sunny Pier the Carousel is the cheapest and the Ferris Wheel the dearest, with the Big Top, Drop Tower and Coaster in between.
- Every new park costs more than the last. The spaces pay more coins in each new park too.
Tap a tag you can't afford yet and the game tells you how many more coins you need.
Where coins come from
- Landing on stall plots, snack stands, the fortune teller, the jackpot fountain and park security, and passing the gate. See Board spaces.
- Pranks and heists. See Pranks and heists.
- Some event milestones, days 2 and 6 of the daily gift, and the weekly bar. See The daily event and Daily rewards.
- The zone wheel, now and then.
Coins are spent on rides and repairs, and a little goes on repair fees. Other players can take some with a heist. You keep your coins when you move to a new park.
Repairs

When another player's prank hits your park, one ride drops a level. Its tag shows a hammer and the repair price. A repair costs half the price of the level the ride lost, and puts the level straight back. Repairs don't count as builds towards your player level. See Being pranked.
Gifts in your first park
- Welcome gift: 40 rolls when you build your very first ride level.
- Builder's bonus: 30 rolls on your tenth build at Sunny Pier.
- Bonus rolls: 80 rolls on top of the usual reward when you finish Sunny Pier.
Finishing a park
Take all five rides to level 5 and the park is complete. The camera pulls back over the whole park, fireworks go up, and the "Sunny Pier complete!" card shows your reward:
| Park | Rolls for finishing it | Sticker packs |
|---|---|---|
| 1 | 30, plus 80 bonus rolls | 1 Park Pack |
| 2 | 35 | 1 Park Pack |
| 3 | 40 | 1 Park Pack |
| 4 | 45 | 1 Park Pack |
| 5 | 50 | 1 gold Park Pack |
| Each park after that | 5 more than the park before | 1 Park Pack (gold every 5th park), up to 8 Park Packs a season; then an ordinary pack |
A Park Pack is a blue, purple or gold sticker pack, and every 5th park's is gold. You get up to 8 a sticker season; after that, finished parks give an ordinary pack until the next season. The "complete!" card shows the colour ("+1 gold sticker pack") and which one it is ("Park Pack 3 of 8 this season"), and the pack waits first in line in the Album, so it's the next one you open. A gold pack holds six stickers, the last one 5 stars.
Then your next park opens behind a flash of white ("Welcome to Frosty Peaks!"): five empty lots and your token back at the gate. Your stalls stay where they were, so a zone you'd nearly filled still spins the wheel when you fill it. You keep your coins, rolls, tickets, stickers and the coins in your jackpot fountain. The last build of a park is also a level-up (see Player levels), and finishing your first park unlocks the multiplier.